Introduction
How To Remove Bubbles From Resin With Heat Gun : Resin is a popular material used in various crafts, from jewelry making to furniture restoration. However, when working with resin, bubbles can often form and be a frustrating problem for many creators. Fortunately, using a heat gun How To Remove Bubbles From Resin With Heat Gun can be an effective way to remove these bubbles and achieve a smooth and professional finish.
Prepare your workspace
Make sure your workspace is clean and free of any debris. Place your resin project on a flat surface that’s heat-resistant and secure it in place to prevent any movement during the process.
Safety first
As a heat gun produces high temperatures, it’s important to take safety precautions. Wear heat-resistant gloves and eye protection to avoid any direct contact with the heat. Ensure there are no flammable materials around.
Heat the gun
Turn on your heat gun and allow it to heat up for a few minutes. Be sure to keep it at least 6 inches away from your resin project to avoid any direct heat damage.
Begin removing bubbles
Hold the heat gun at an angle and move it around your resin project, focusing on the areas with the most bubbles. Start at a low temperature, and gradually increase as needed. Aim the heat gun at the resin, moving it back and forth, until the bubbles begin to pop.
Keep moving the gun
As the bubbles start to pop, continue moving the heat gun around the project, making sure not to spend too much time in one spot to avoid overheating.
Watch for smoke or burning
Keep a close eye on your project while using the heat gun. If you see any smoke or notice any signs of burning, immediately stop using the heat gun, let it cool down, and reassess your approach.
Repeat the process
If you notice any remaining bubbles, repeat the process until all the bubbles are removed.
Let the resin dry
Once all the bubbles have been removed, allow the resin to dry fully. This will give you a clear and smooth finish. In summary, removing bubbles from resin with a heat gun is a simple process that requires attention to detail and careful monitoring to prevent any damage. Always prioritize safety and take your time to ensure a successful outcome. With a bit of practice, you’ll be able to create beautiful, bubble-free resin projects in no time!
Understanding Resin Bubbles
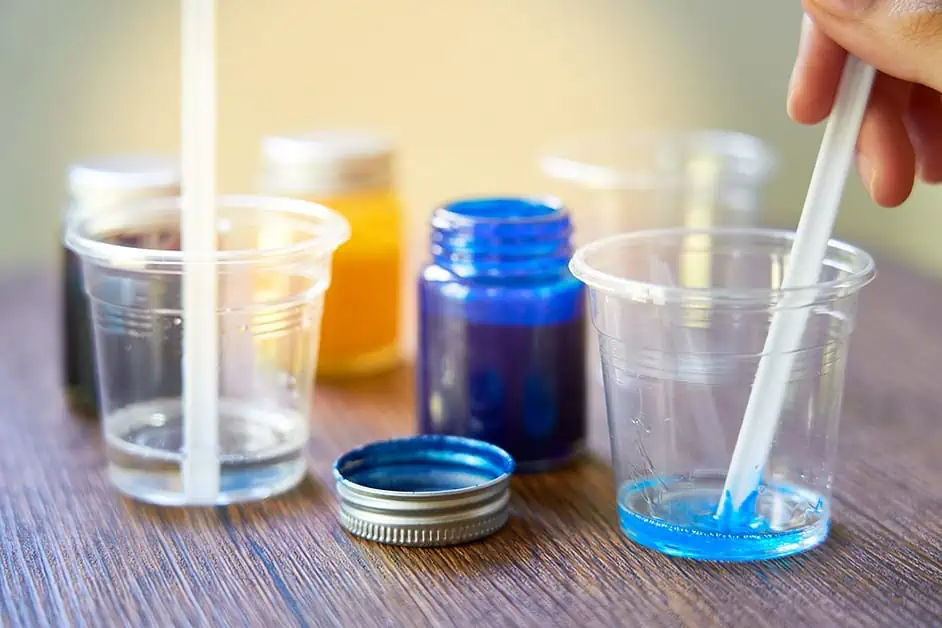
Before you start removing bubbles from your resin, it’s important to understand what causes them. Bubbles can form in resin when it’s mixed too vigorously or when air gets trapped in the mixture during the pouring process. Heat can help to break down these bubbles and release the trapped air.
Choosing the Right Heat Gun
When using a heat gun to remove bubbles from resin, it’s important to choose the right tool for the job. Look for a heat gun with a low to medium setting, as high heat can cause the resin to melt or warp. Additionally, consider the size and shape of the heat gun nozzle – a smaller nozzle may be more effective at targeting individual bubbles.
Preparing Your Workspace
Working with resin can be messy, so it’s important to prepare your workspace before you start using a heat gun. Cover your work surface with newspaper or plastic to protect it from drips and spills, and make sure you have a well-ventilated area to work in.
Applying Heat to the Resin
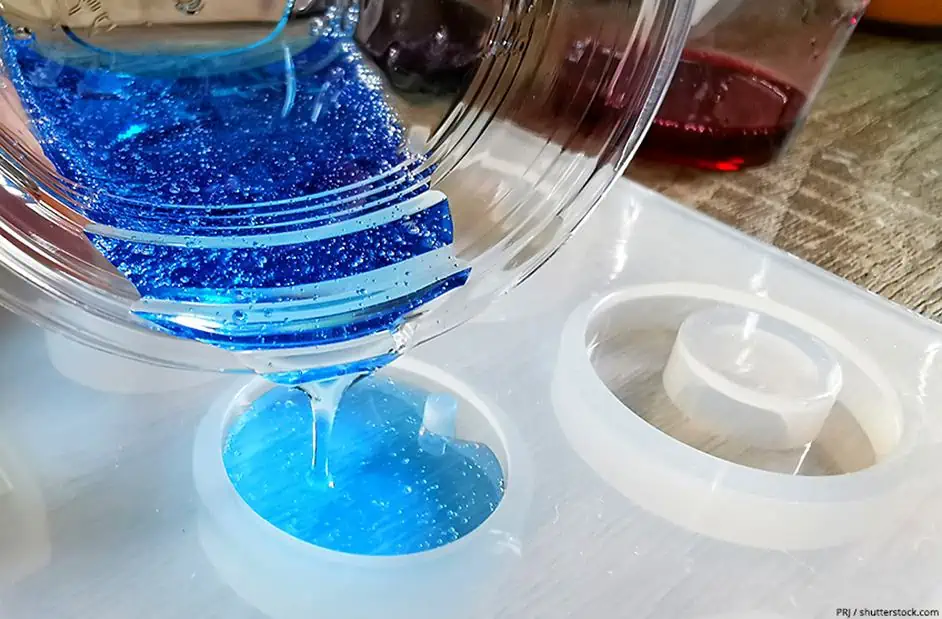
Once you’ve mixed and poured your resin, it’s time to start removing any bubbles. Hold your heat gun about 2-3 inches away from the surface of the resin and move it in a circular motion over the areas with bubbles. Be careful not to hold the heat gun in one spot for too long, as this can cause the resin to melt or burn.
Monitoring the Resin
As you apply heat to the resin, keep a close eye on it to make sure it doesn’t overheat or become damaged. If you notice any smoke or discoloration, stop using the heat gun immediately and allow the resin to cool.
Finishing Your Resin Project
After you’ve removed all the bubbles from your resin, it’s time to let it cure. Depending on the type of resin you’re using, this can take anywhere from a few hours to a few days. Once the resin is fully cured, you can sand it, polish it, or apply any other finishing touches to complete your project.
Conclusion
How To Remove Bubbles From Resin With Heat Gun : Removing bubbles from resin can be a frustrating task, but using a heat gun can make the process much easier. With the right technique, you can quickly and effectively remove bubbles from your resin project.
First, make sure you have a heat gun that is suitable for use with resin. The heat gun should have a low setting and be capable of producing a gentle, even stream of heat. Once you have your heat gun, hold it about 6 inches away from the surface of the resin and turn it on.
Move the heat gun back and forth over the surface of the resin, focusing on any areas where bubbles have formed. As the heat gun heats up the resin, the bubbles will begin to rise to the surface and pop. Continue moving the heat gun over the resin until all of the bubbles have disappeared.
Be careful not to overheat the resin, as this can cause it to warp or even melt. Keep the heat gun moving and don’t spend too much time in any one spot. It’s also a good idea to wear gloves and eye protection while using a heat gun to remove bubbles from resin.
Removing bubbles from resin with a heat gun can be a quick and easy process if done correctly. With a little practice and patience, you can achieve a bubble-free finish on your resin projects.
FAQ
What is a heat gun, and how does it work to remove bubbles from resin?
A heat gun is a tool that emits hot air to heat and soften the resin, causing bubbles to rise and pop. It works by applying heat evenly and quickly to the resin surface.
What type of resin can be used with a heat gun?
Most types of resin can be used with a heat gun, including epoxy, polyester, and polyurethane resins. However, it’s important to check the manufacturer’s instructions to ensure that the resin is heat-resistant.
What is the best temperature setting for a heat gun to remove bubbles from resin?
The temperature setting for a heat gun should be set to low or medium. Using high heat can cause the resin to overheat, scorch, or even catch fire.
What is the best technique for removing bubbles from resin with a heat gun?
Hold the heat gun at a distance of 2-3 inches from the resin surface, and move it in a circular motion. This helps to distribute the heat evenly and prevents overheating in one spot.
Are there any safety precautions that should be taken when using a heat gun to remove bubbles from resin?
Yes, it’s important to wear protective gloves and eyewear to prevent burns or injury. Also, make sure to use the heat gun in a well-ventilated area, as fumes from the resin can be harmful if inhaled.